A behind the scenes look at the process of adding veneer artwork to the boards.

Laying out the design.
With thin veneer some pieces are incredibly fragile.

Making music...

Gloves, fiddly veneers and resin makes for a slightly messy glue up.

Larger full deck designs require careful planning and layout to ensure the design fits together an everything lines up before the resin kicks.


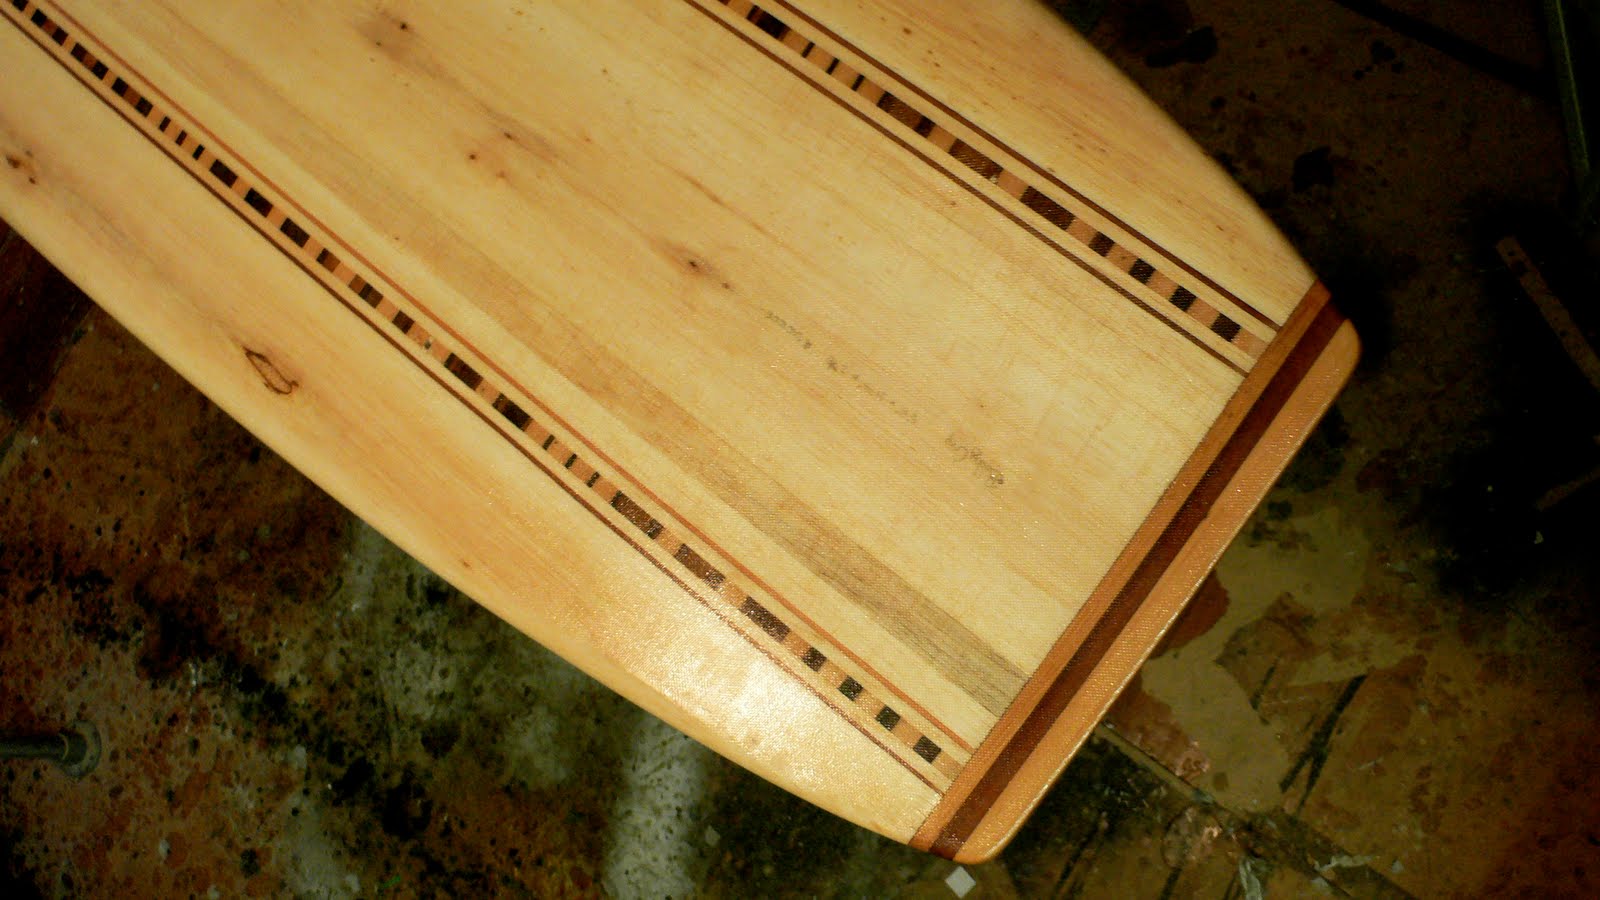
Add a brush coat of resin, the messy glue up disappears and the colours and grain stand out.


Next step is a sand to fair it out before glassing.

More photo's from the bench top...